Table of Contents
Tuff Tiles Flooring (Introduction)
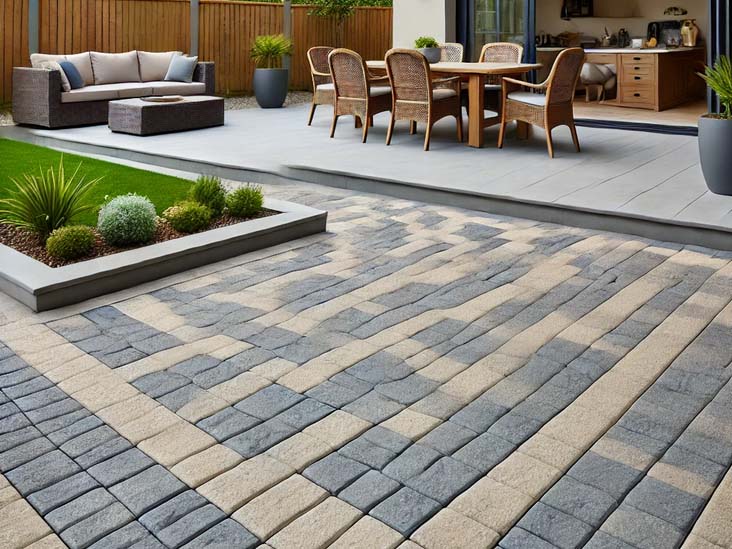
Tuff tiles or paving stones are made of plain cement concrete (P.C.C.); this is mostly used for outdoor flooring. Tuff tile flooring is very popular due to its easy-to-install and easy-to-remove characteristics. Outdoor flooring mostly needs to be removed for installation and repair of utilities; therefore, tough tile or stone paving is the best outdoor flooring option. Tuff tiles are made of different attractive colors and shapes that enhance the outdoor aesthetic beauty. This type of flooring is mostly used in parks, gardens, petrol pumps, footpaths, etc. This blog will provide you with complete details regarding tuff tiles, their type, uses, classifications, and complete installation procedure.

Types of Tuff Tiles or Paving Stones
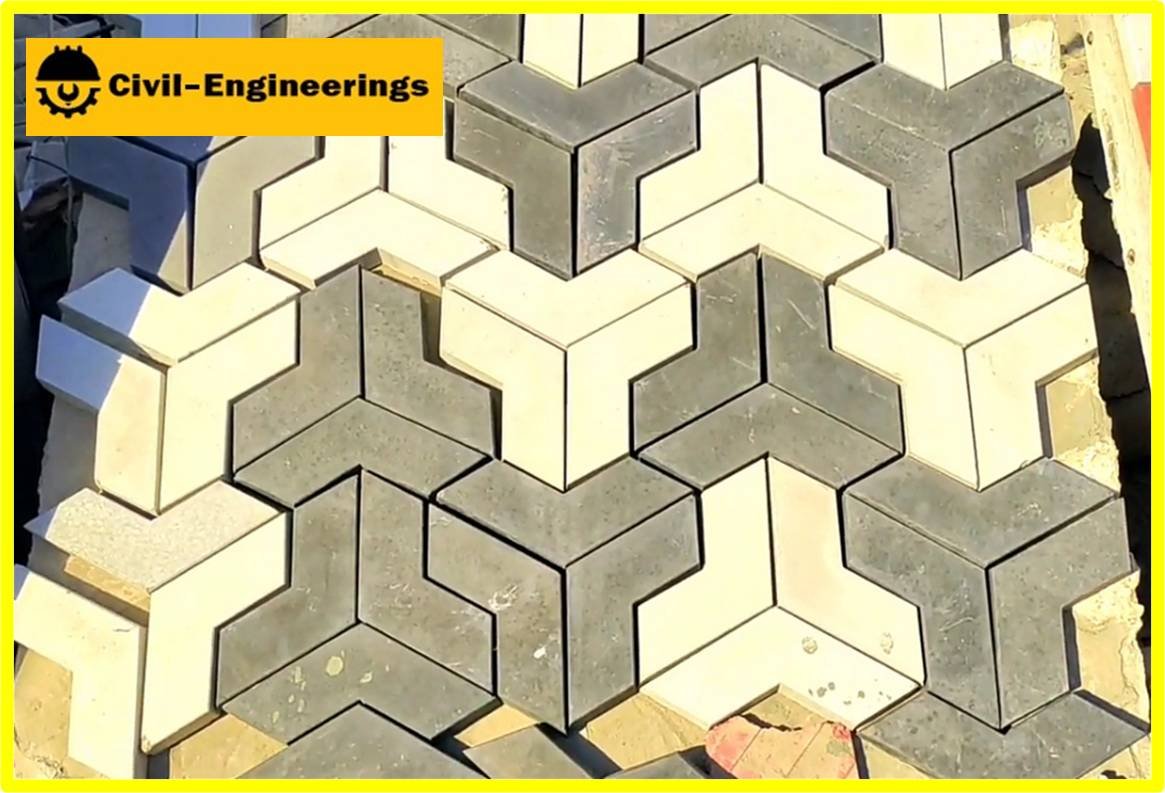
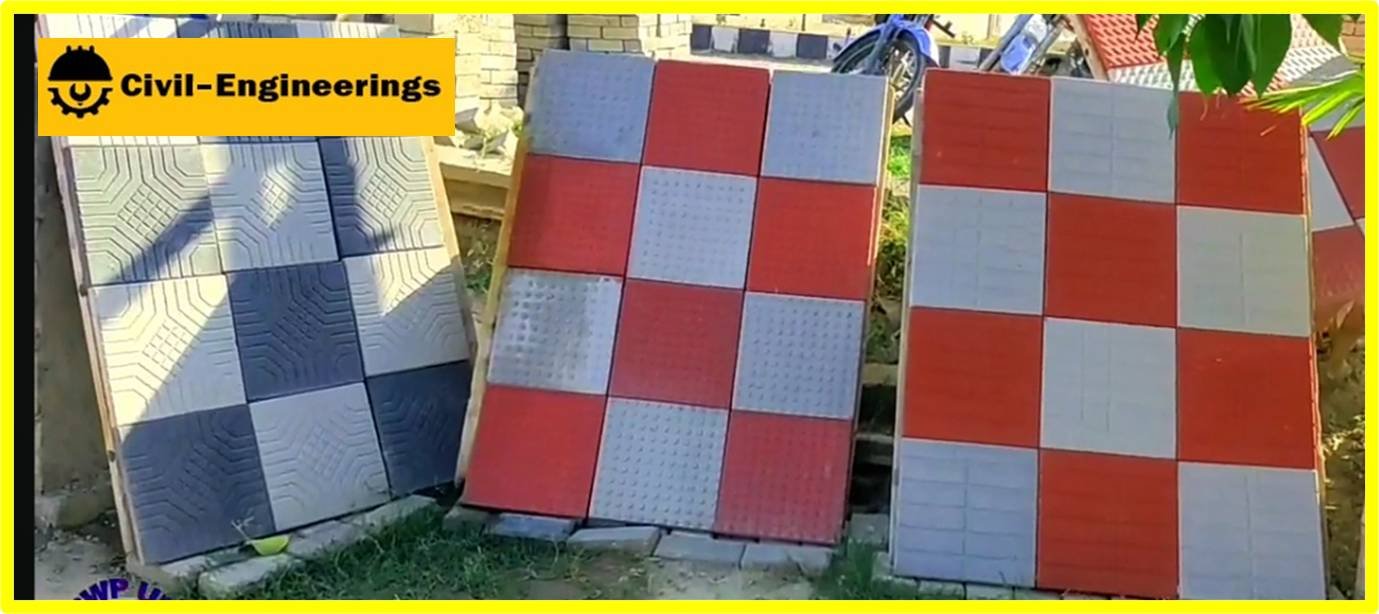
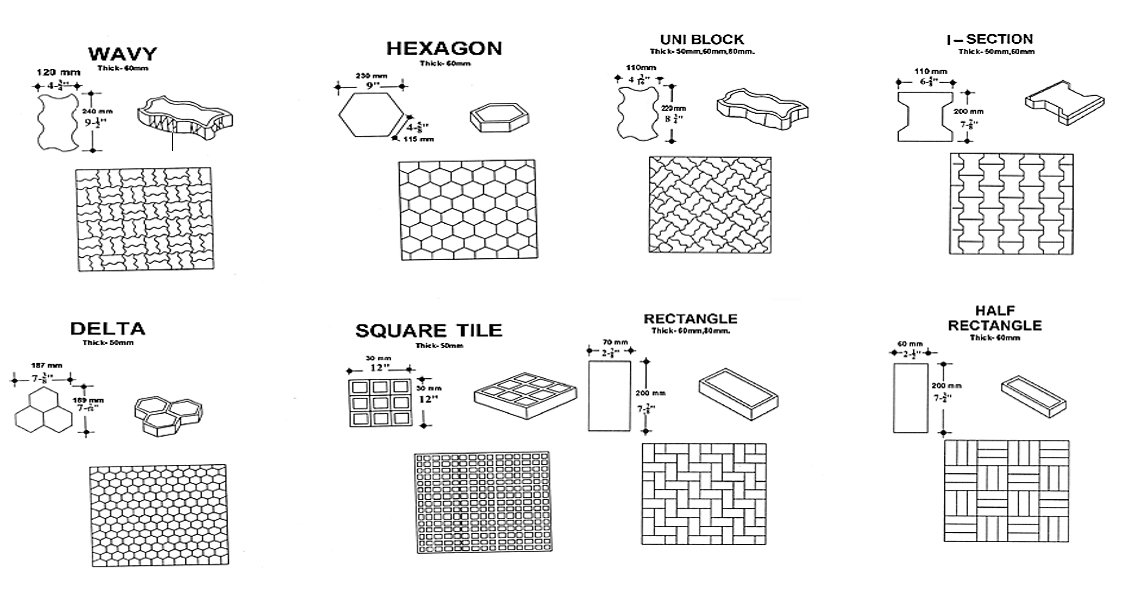
Tuff tiles of different shapes and sizes are available in the market but commonly used 8 types for outdoor flooring are Uni-Block, I-Section, Rectangle, Half Rectangle, Wavy, Hexagon, Delta, Square
Classification and Usage of Tuff Tiles
Tuff tiles are classified as light duty, medium duty, and heavy duty based on their strength:
- Light Duty
Light Duty tuff tiles having thickness of 50 mm are used at Residential, drive way, walk ways, parking patios etc.
- Medium Duty
Medium Duty tuff tiles having thickness of 60 mm are used at Residential, Streets, Public Parking, service road, maintenance area, canal lining, storage area, City petrol pumps etc.
- Heavy Duty
Heavy Duty tuff tiles having thickness of 80 mm are used at City Streets, Loading deck Industrial floors, Highway petrol pumps etc.
Strength of Tuff Tiles
Min 28 days Cylinder Compressive strength for LIGHT DUTY (50 mm thickness) shall be 35 MPa (5000 psi) and for MEDIUM & HEAVY DUTY (60 / 80 mm thickness) shall be 48 MPa (7000 psi).
Tuff Tiles Installation Procedure
- Preparation of Sub-Base
The sub-base for approach roads, driveways and parking lots used for low speed traffic, should comprise of min 150 mm thick compacted. For areas to be used for pedestrians only, well-compacted earth is sufficient. The sub-base may have been used by site traffic, before the paving is laid. It must, therefore, be inspected to make sure that it is structurally sound, free of debris or mud and that its surface level is correct. Any faults must be rectified, before laying course is spread. Standard thickness of subbase for installation of different tiles is as under:
Application Thickness of Sub-Base (mm) Low Wet Area Light Duty 0 to 76 100 to 204 Medium Duty 100 to 152 254 Heavy Duty 204 305 - Preparation of Laying Course
The Laying course, about 50 mm thick after vibration, consists of clean, washed, sharp sand, containing not more than 3% of Silt and Clay by weight. To achieve the best regularity in the finished surface, the sand should be uniform in type and moisture content, spread to a smooth level, without uneven compaction. To help maintain uniformity, the sand should be obtained from a single source, allowed to dry before use and sheeted over to minimize changes in moisture content.
- Screeding to Level
Screeding is done by traditional methods. For roads upto 5 M wide, it can be done from the kerbs and for wider roads or over large areas, temporary screed rails set to level be used.
- Surcharge
After final vibration, the Inter-lock pavers will be lower than their initial level, because, the laying course sand has been compacted and some moved up into the joints between the blocks. Thus, the sand has to be laid to a surcharge, the amount of which depends on the type and moisture content of the sand, but, is normally in the range 5-15 mm.
- Fixing of Surface Course
- The positioning of the first Inter-lock pavers demand extra care. To give the required laying pattern the pavers must be placed at the correct angle against a firm starting edge.
- Each inter-lock paver has to be placed very carefully, so as not to disturb its neighbours, and it is not disturbed, until three or four rows have been placed so that normal rapid laying rates can be achieved.
- The order of laying must ensure that the pavers can be placed easily and in such a way that it is never necessary to force a paver between those already laid.
a. Placing the First Pavers
-
b. Laying
- Each inter-lock paver must be placed firmly against its neighbours, being held slightly above the Laying course, so as not to disturb sand until paver is in its correct place.
- All inter-lock pavers must be laid, so that they fit closely together. If joints begin to open, the pavers should be knocked together with a wooden hammer. Care must be taken not to tilt pavers on the leading edge of the laying face, by standing or kneeling on them.
- Paver laying is continued until enough area has been laid, to make vibration worthwhile, say 15-20 Sqm. Men or light equipment can move over the pavers before, they have been vibrated. At this stage an uneven surface may be faced, but, this will be ironed out by the plate vibrator
-
c. Edging
- Where inter-lock pavers do not fit at the edges, the spaces are filled with cut pieces, but, very small pieces are best chipped off with a bolster and hammer.
- Where the gaps are small, e.g less than 50 mm, they can be filled with 1:4 cement sand mortar.
-
d. Vibration
- The inter-lock pavers are vibrated to their final level with plate vibrator, having a plate 0.2-0.3 Sqm and a centrifugal force of approximately 1Ton is suitable. There is no advantage in using a heavy machine.
- The vibration should be guided over the whole area, avoiding any un-restrained edge by about a meter. Two or three passes are normally needed to vibrate finished level.
-
e. Filling the joints
- After the initial vibration, sand is brushed over the surface of the pavers and is vibrated into the joints by further two or three passes of the plate vibrator. After all the joints are filled, surplus sand can be swept away. The paved area is now ready for use.
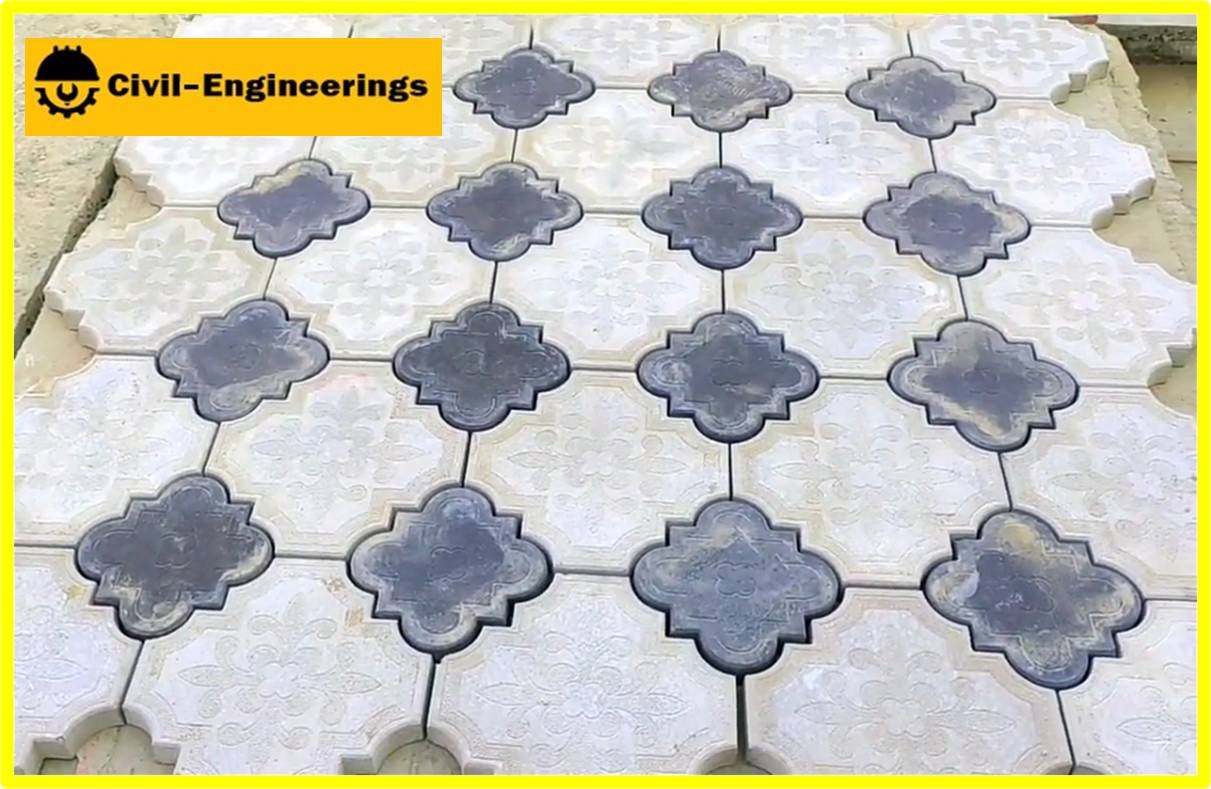
Tuff Tile Designs