
Table of Contents
- Introduction
- What is the Field Density Test?
- Purpose of Field Density Test
- Common Methods of Field Density Test
- Equipment Required for Sand Cone Method
- Procedure of Field Density Test (Sand Cone Method)
- Calculations for Field Density Test
- Importance of Field Density Test
- Applications
- Conclusion
- FAQs
Introduction
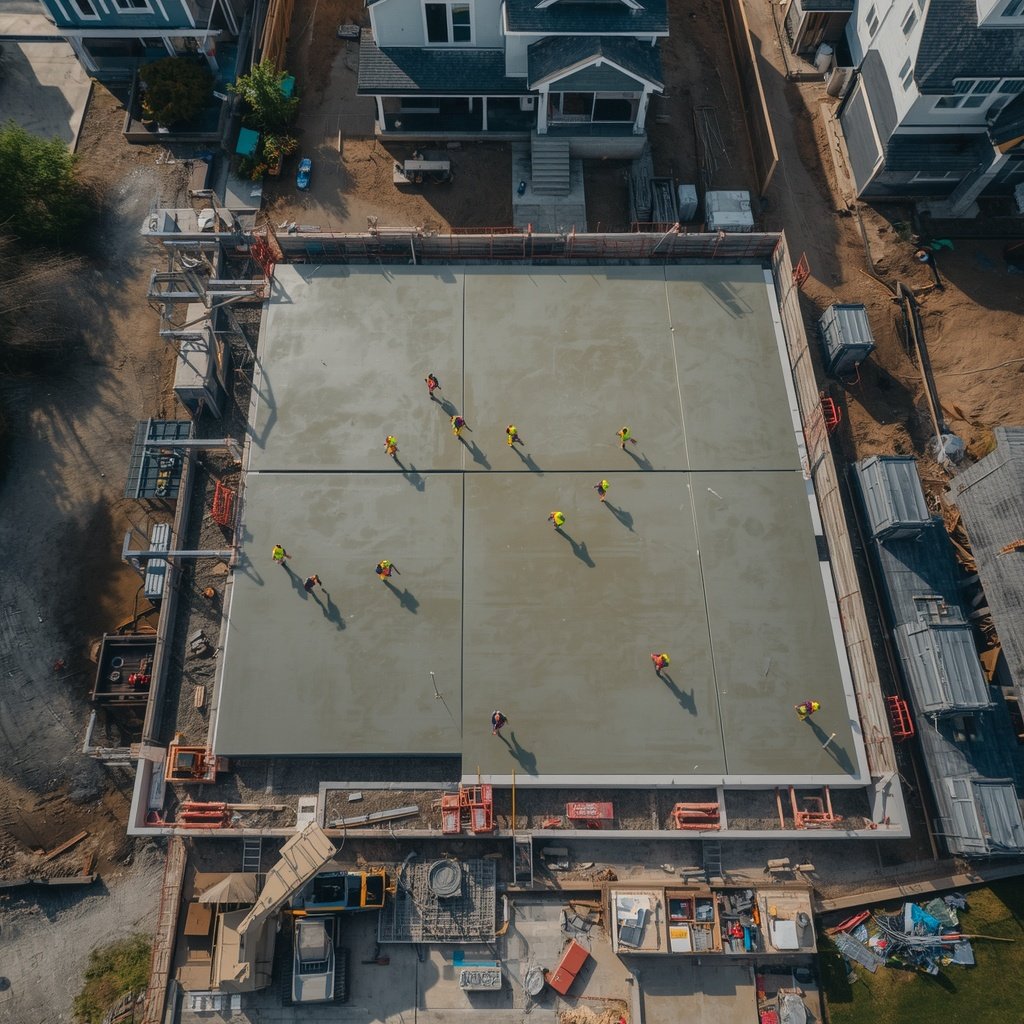
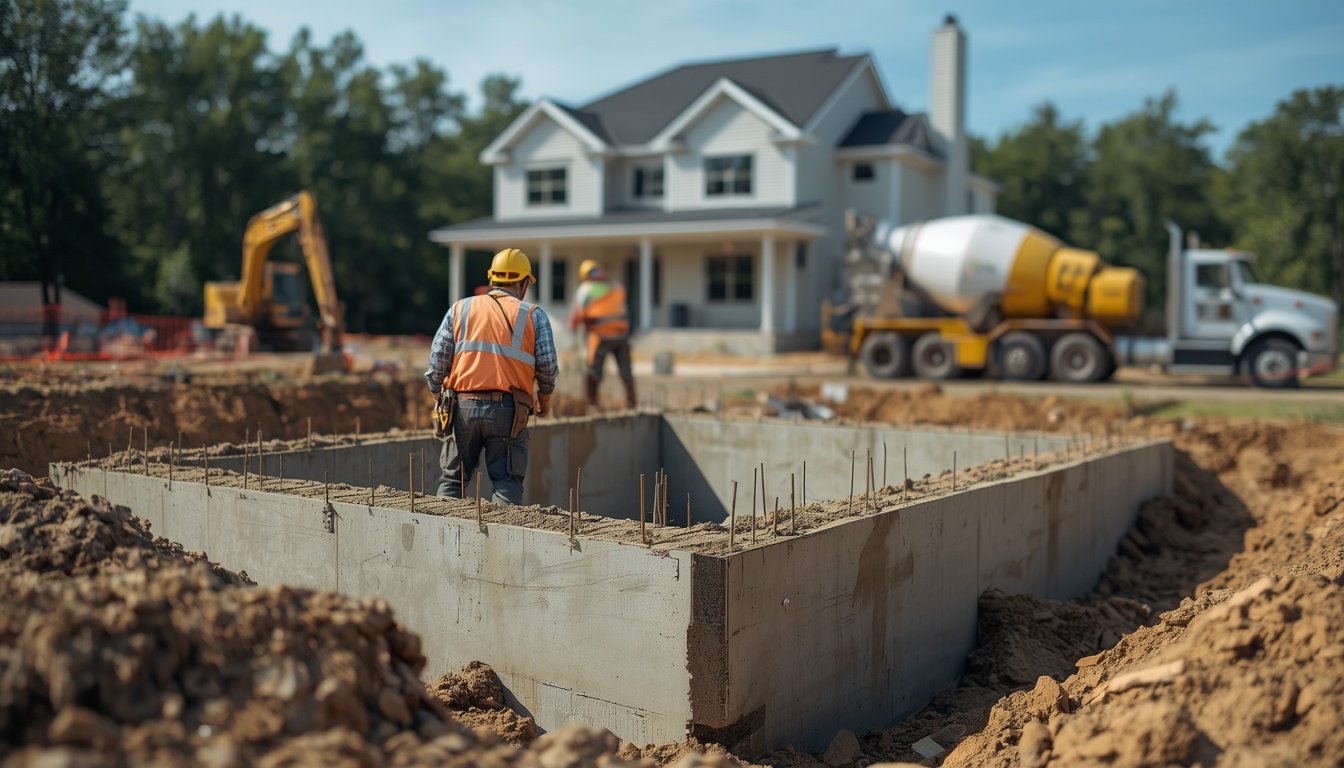
After compaction of soil on project sites like roads, embankments and foundations it is important to verify whether the soil has achieved the required compaction or not through Field Density Test (FDT). This test ensures that the field compaction matches the design specifications determined from the laboratory Proctor Test.
What is the Field Density Test?
Field Density Test is a geotechnical procedure used to determine the on ground density of soil at the site. It is mainly conducted after compaction activities to verify the soil density meets the required percentage of the Maximum Dry Density (MDD) obtained from the Proctor Compaction Test. Typically the goal is to achieve 95% to 98% of the lab MDD in the field.
Purpose of Field Density Test
- To confirm that the soil compaction meets design specifications.
- To ensure stability, strength, and durability of earth structures.
- To minimize future settlement and increase load-bearing capacity.
- To verify the quality of earthworks during construction.
Common Methods of Field Density Test
- Sand Cone Method (ASTM D1556 - most widely used)
- Nuclear Density Gauge Method (ASTM D6938)
- Core Cutter Method (used for cohesive soils)
- Rubber Balloon Method (less common)
Equipment Required for Sand Cone Method
- Sand Cone Apparatus
- Dry, clean, standard sand (known density)
- Metal tray with a central hole
- Weighing balance
- Moisture content containers
- Digging tools (spoon, chisel, brush)
Procedure of Field Density Test (Sand Cone Method)
- Calibrate the Sand Cone Apparatus
- Weigh the full sand cone.
- Open the valve to allow sand to flow into the cone only (without excavation hole).
- Weigh the sand cone again.
- Find the weight of sand that fills the cone alone.
- Prepare the Test Area
- Clean and level a small area of compacted soil.
- Place the metal tray with a hole at the center.
- Excavate a Small Hole
- Dig a hole (about 10-15 cm deep) carefully under the hole in the tray.
- Collect all excavated soil and weigh it (Wet Weight).
- Fill the Hole with Sand
- Place the sand cone apparatus over the hole.
- Open the valve to let sand flow into the hole and cone.
- When the sand stops flowing, close the valve.
- Weigh the Apparatus
- Weigh the sand cone with remaining sand.
- Calculate the weight of sand that filled the excavated hole.
- Moisture Content Determination
- Take a small sample of the excavated soil.
- Dry it in an oven at 110°C for 24 hours to determine the moisture content.
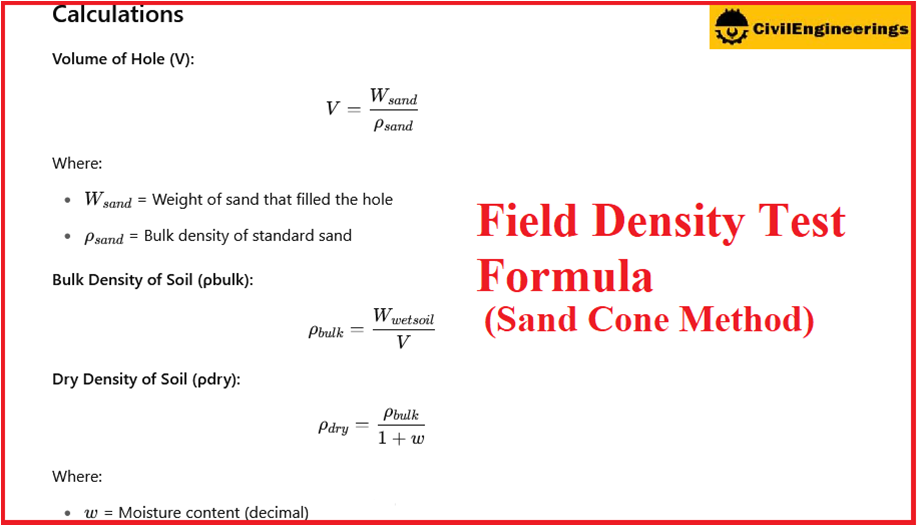
Calculations for Field Density Test
Results
- Compare the Field Dry Density with the Laboratory Maximum Dry Density (MDD) obtained from the Proctor Compaction Test.
- Acceptance Criteria: Minimum 95% to 98%
Importance of Field Density Test
- Ensures project quality and performance.
- Reduces risks of differential settlement and failure.
- Prevents costly repairs and maintenance in the future.
- Ensures compliance with project specifications and standards.
Applications
- Highway and road construction
- Airport runway construction
- Earth dam and embankment construction
- Backfilling around foundations
- Railway embankments
- Retaining wall backfills
Conclusion
Field Density Test is crucial to ensure that the soil has been compacted properly on site according to engineering standards. It acts as a quality control measure to ensure that the soil meets the design
Proper field compaction testing protects the projects from future failures and ensures safe & durable construction by meeting required compaction values.
. Among various methods, the Sand Cone Method is most commonly used due to its reliability and simplicity. Proper field compaction testing protects the projects from future failures and ensures safe & durable construction.